starting with Home Assistant
Home Assistant is software that connects smart devices. It enables them to have a useful life outside of the app that they come with. You will gain unusual flexibility where a Philips Hue lamp turns on when some device senses you’re in the room. You’ll start simple and over time, when needs appear, Home Assistant has ways to address them. Tool up with my list of things needed to use Home Assistant. Then come back here and find more ways to make it valuable.
a tutorial sequence: > the offer > why a platform > home assistant > ESPhome > camera project > main menu
what you need to run your own home automation server
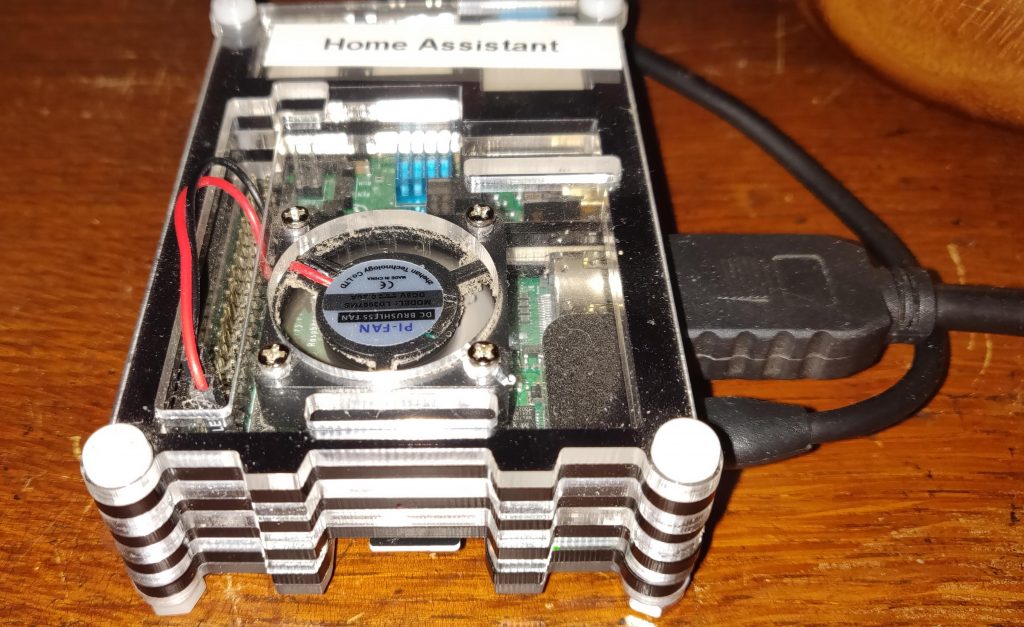
- A Raspberry Pi kit with Raspberry Pi 3+ or later with the recommended power supply, 32Gb SD card, heatsinks and maybe a cooling fan.
- Ethernet cable for a wired connection to your broadband router.
- A spare SD card and an SD card reader or disc space for a backup of your setup
- You don’t really need a USB keyboard, mouse and monitor cable. If you do want to use a keyboard, a Raspberry Pi 4 will need a micro-HDMI to full HDMI monitor cable. A Raspberry Pi 3 will need a regular TV-style HDMI cable. If your monitor is older you can buy an inexpensive ‘compatible’ HDMI to DVI cable on ebay. But to repeat: keyboard access is not needed.
First timers: use a Raspberry Pi to run Home Assistant with this video and thanks to Juan. There are easier, less-to-do guides to setting up Home Assistant. However the Beginner’s Guide to Home Assistant is complete and you can stop without say, setting up the mobile app. Juan shows how to download the image. Next he shows how to copy Home Assistant to your SD card and how to edit a file to add your wifi settings.
Expert users: some people copy their Home Assistant set up to more powerful machines such as a discarded laptop. Some set up Home Assistant in Virtualbox on their everyday PC – which may be faster than a Raspberry Pi. I used this youtube tutorial: migrating to a virtual machine.
a list of things to do when you have Home Assistant up and running
- When Home Assistant is running, it behaves as a server which means that you access it as if it was a web site. You use it from your desktop machine from a link such as http://hassio.local:8123 or http://192.168.x.x:8123.
- Do install some of the free Home Assistant add-ons in the ‘store’. Set up Samba (to copy files from the Pi). File Editor (needed to edit your configuration) may be pre-installed.
- The add-on that I use most is called ESPhome and that’s the subject of my next tutorial.
- Several Home Assistant add-ons require you to set a password. Do reuse the same password.
- Some Home Assistant features are not available until you click your account ’roundel’ and switch on ‘Advanced’.
- Find out how to make backups and how to download them to your machine.
- Don’t yank out the Pi’s power. If you must restart your system, try to do this from the app. (Or via the command line called Hassio)
- On your router, reserve an IP address for the Raspberry Pi on its wired ethernet connection.
- If you’re comfortable with FTP and FileZilla, install the FTP add-on to access files on your Pi.
- If you want to access the RPi remotely on your phone, you’ll need to open the 8123 port on your router. However, except for playing about that’s not recommended. You want remote access to be secure so go to the Add-on store and follow my instructions with care to install install DuckDNS and Nginx. Henceforth your access URL may change! Externally it might now be https://xxx.duckdns.org and internally http://192.168.x.x:8123.
- If you want to use ESPHome, as used in many of my projects, I cover ESPhome here.
You only need to use the keyboard on the Raspberry Pi in the rare cases when a command line (Hassio CLI) is the only way to get access:

You don’t much use a keyboard and monitor with the Raspberry Pi but if you do you’ll see a black and white world running behind the scenes. Don’t be alarmed by this command line interface (‘CLI’). Its purpose is not well advertised but knowing that this exists can be a life saver. If like me you got to it because you thought your Home Assistant was broken, here’s what to do.
- First consider that you might be unable to access your Home Assistant for some other reason and it might not be broken! You might be using a wrong URL or your Home Assistant might be so busy it doesn’t respond as normal.
- In the CLI you press ENTER to gain attention and then enter the word ‘root’. You then see a Hass.os graphic and the screen will show some commands you can use. Type help for a list of commands
- Type homeassistant for a list of what you can do with home assistant including restore a backup of the configuration. But first try homeassistant check OR homeassistant restart.
- Try these shortcuts: ha check – ha stop – ha restart
- Type host for a list of what you can do with the host. Examples host reboot.

