fix problems with TimeMachine backup on openmediavault – set up and troubleshooting
Time Machine is a backup utility on the Mac. This can work for years and then one day it doesn’t.
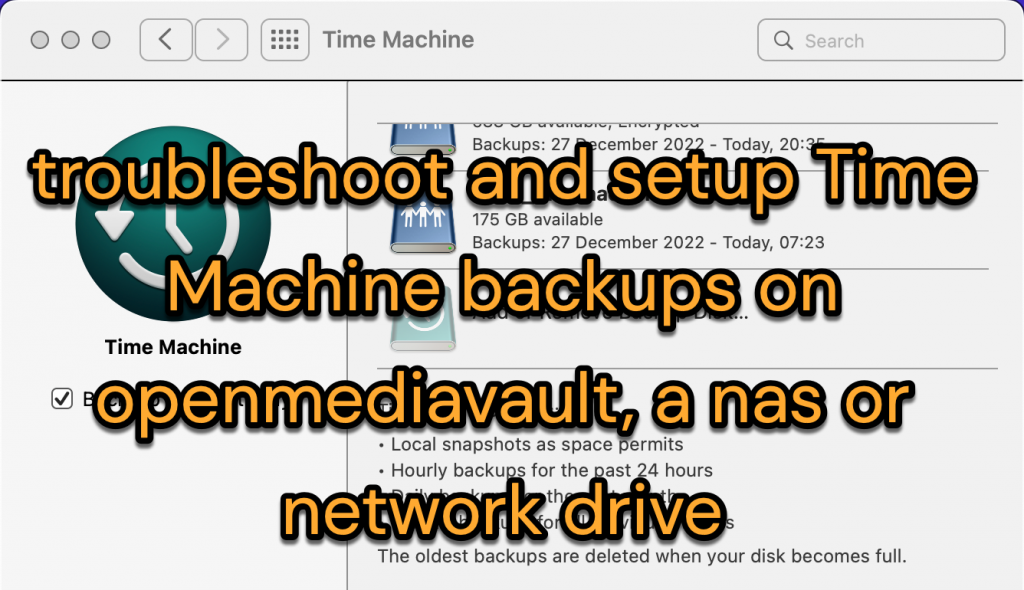
If you need a file you had an hour ago, Time Machine gets it back in an intuitive way and it’s surely one of the Mac’s best things. Did you know that you can backup to a network drive (a NAS) such as a Synology or Qnap or openmediavault. This page aims to fix:
o I can’t see Time Machine folder
o my backups fail
o the first Time Machine backup doesn’t ever complete
setting up Time Machine storage:
This guide concerns getting Time Machine back up to work over your home network. Your backups aren’t saved to a drive connected to your computer, they are saved to a NAS. In my case that’s a DIY server that uses openmediavault as its operating system. Some of the following, especially on the Mac side, applies to setting up a Time Machine destination on a Synology or QNAP NAS device. We first set up an unrestricted Time Machine and then we restrict access to our backups. This guide has three sections
- setting up a Time Machine folder on an openmediavault server
- cleaning up the settings debris from previously used Time Machines
- tips and info
how to set up a Time Machine destination on an openmediavault server
There is a natural order to the process to create a folder where your Time Machine backup will be stored. It takes so little time to do that afresh compared to troubleshooting a broken backup – and your old backup isn’t lost.
- Set up a folder to store your Time Machine backups: As needs must in openmediavault server you’ll create a “file system” on your drive and then create several “shared folders” named ‘media’ or ‘documents’ and so on. One of the shared folders might be called ‘timemachine2′. On the initial setup page set the permissions line to “Everyone read/write’.
- Create a unique backup user. In openmediavault > User management > Users click + to add a new user. This user is your Time Machine backup user. It definitely should not be your Mac login name. (You’re asking for sign in confusion when one of two similar logins changes their password). Let’s go with ‘tmuser2’. On the setup page assign this user to the group ‘users’. Add a password hint to Comments. Click save and update the server when the banner appears.
- If you don’t limit Time Machine it will use the disk space and possibly cause other apps to run out of space. In openmediavault > Storage > File Systems highlight the drive/file system that has the ‘timemachine2’ folder. Click the icon labelled Quota. Highlight the ‘tmuser2’ line and click edit. Enter how much space you want to allocate this user to Time Machine backups. For example, I put 500GB which is half of my 1TB Mac drive. Click the Quota icon again if you want to verify the setting: you’ll now see the quota as well as the Used Capacity of the whole drive.
- Give your new backup user permission to write to the Time Machine folder: in openmediavault > User management > Users highlight your new user ‘tmuser2’ and click the icon labelled Shared folder permissions. Give this new user Read/Write permission on the Shared folder named ‘timemachine2’. Click save and update the server.
- Turn on Samba: in openmediavault > Services > SMB/CIFS > Settings choose ‘enabled’. Leave recycle bin OFF. Only change the WORKGROUP if you’ve changed it on the Mac.
- Add the Time Machine folder to Samba and check some settings – in openmediavault > Services > SMB/CIFS > Shares > click + to choose ‘timemachine2’ from a drop down. Under Public choose Guests Allowed (we’ll tighten up security later). Do NOT check Inherit ACLs. Do NOT check Enable recycle bin. Do NOT check Inherit permissions.
- Go to Finder on Mac to initialise access to the share. In Finder > Go > Connect to server and enter smb://192.168.1.99/timemachine2 (or whatever is the server’s address). Enter (but don’t save) tmuser2 and the password if requested.
- Set up Time Machine. Go to System Preferences > Time Machine on Mac to Add a Backup disk. Here you’ll be asked for the login credentials for ‘tmuser2’. To limit what gets backed up, and not have huge backups see my ‘Time Machine tips’ below.
- If it’s working, allow the initial backup to complete. If not see the section on cleaning up below.
Now tighten up access to the Time Machine folder
- Storage > Shared Folders > select ‘timemachine2’ > Privileges. You’ll see a list of users. Select the backup user ‘tmuser2’ and check that this user still has Read/Write permission for this folder. (This gives the same result as User Management > Users > Privileges where ‘tmuser2’ is marked as Read/Write for the Timemachine share)
- Optionally check but don’t change anything in Storage > Shared Folders > select ‘timemachine2’ > ACL. You’ll see ‘tmuser2’ has read/write permission. At the bottom see that root is the owner and that ‘users’ is the group. Both of these have R/W/Execute permission. Others have None under permissions. Click cancel – it’s best to leave this ACL panel untouched.
- Backups ought to continue, typically hourly.
- When you’re happily backing up go to Services > SMB/CIFS > Shares > edit ‘timemachine2’. Under Public change the setting from Guests Allowed to None. Do NOT check Inherit ACLs. Do NOT check Enable recycle bin. Do NOT check Inherit permissions.

Cleaning up to troubleshoot Time Machine and start fresh
- If something is wrong I wouldn’t reformat the backup drive or reinstall Openmediavault: instead create a new shared folder in openmediavault. The existing folder still has your backups which you can connect to at a future time.
- Similarly, instead of trying to tweak your original login for the Time Machine server, create a brand new one and give that the permissions it needs.
- If the Mac can’t find the Time Machine folder you’ve set up, do first connect to the server in Finder – details above in my setup process.
- Try the Reset Permissions plugin: this plugin does some magic on the Shared ‘timemachine2’ folder. Go to Services > Reset Permissions > select the folder and choose ‘clear’ and save. Next review the Shared folder permissions.
- Your logins to the Time Machine server / openmediavault server may have different levels of access to the server. I suggest to unconfuse matters by removing them from Keychain Access:
- Open Keychain Access and search for the Time Machine server / openmediavault server in the list. Search for the IP address; the servername.local and TimeMachine. Delete them as follows …
- To delete an entry find it in the long list of Keychain Access, choose delete and enter your Mac password to delete it. For some reason you can’t always delete logins that you searched for.
- Remove previous network shares: if Finder presently shows the network drive for the Time Machine share, eject the drive in Finder; then in Finder preferences turn off Bonjour computers and also Connected servers. Next in Finder > Go > Connect to server and click a down chevron (…) to clear recent servers. Turn them back on when all’s well if you wish.
- Avoid doing Time Machine over a wifi connection or where there’s a possibility the process can be interrupted.
- Time Machine backups (eg that fail midway) may need cleaning up on the Mac side and the destination side: to put a Time Machine shortcut in the menu bar go to Preferences > Time Machine and check the box there.
- Next, hold Option and click the Time Machine icon in the menu bar. Choose Verify Backups. After some moments you’ll see if the backup is sound or not. You’ll gain an option to reset the backup if there’s a problem.
- Otherwise disable Time Machine on the Mac. Go to terminal and ssh into the openmediavault server host. Go to the root and cd inside the Time Machine shared folder. (Enter ls -al and you’ll see see the hidden folders) Remove them with rm -r . Then re enable TM on the Mac).
- To cleanup on the Mac side you need to know that there’s a backup ‘snapshot’ cache on the Mac that you might want to clear.
- In Time Machine Preferences, uncheck the option to Back Up Automatically. The Mac will clean up for you. To check this has worked see the terminal commands just below.
- Or you might use Onyx, a clean up app to do this. This is my goto clean up app – it’s worth doing a clean up with this once a year or so.
- Otherwise in Terminal enter the command “tmutil listlocalsnapshots / ” to see a list of snapshots on the disk. To delete one of these enter this command with the matching date: eg sudo tmutil deletelocalsnapshots 2022-12-29-151905
- If you give up on this process try an alternative to Timemachine – use the Duplicati app to backup to a drive, network location or cloud provider such as Backblaze.
Time Machine tips
Apple implements SMB/CIF to suit its needs and this may break your working backup. You may read of the need to need to change settings within SMB.conf for newer versions of macOS. To do this go to the Services > SMB/CIFS settings and add whatever setting in the extra options box near the bottom of settings. One recommended line follows. You can add this to the Time Machine folder ‘extra options’ or the general SMB ‘extra options’
fruit:nfs_aces = no
It may help to know that the Time Machine magic uses Samba – also known as SMF/CIF shares. This means that your NAS or Time Machine server needs to be running Windows Networking service and Samba or SMB. It doesn’t need to run Apple afs.
You should be able to browse to the Time Machine folder in the Finder menu > Go to Server > enter smb://192.168.1.xx/name_of_timemachine_folder. This may ask for the folder’s user id. This id is the openmediavault server id, not your Mac login id.
In Time Machine Options you can add folders to the list of folders that don’t need a backup. For example, I exclude my 30Gb imovielibrary and another folder with 65GB of virtual machine files. I then backup these separately. I don’t think my idea is worth much except that it surely reduces the size of a regular backup.
So far my reading told me to only look at ACL permissions but leave alone unless I know otherwise. A plugin called Reset Permissions can undo any uncertainties that this creates.
At the point you set a Time Machine backup disk you have the option to ‘encrypt backups’ to prevent others looking at all your data. This is as simple as setting a password. Without this you’ll want to deny others access to the mac.sparsebundle folders.
Info on Samba: https://wiki.samba.org/index.php/Configure_Samba_to_Work_Better_with_Mac_OS_X
Info on fixing Time Machine on Openmediavault https://forum.openmediavault.org/index.php?thread/42248-time-machine-support-option-frags-permissions-to-copy-delete-on-all-omv-smb-shar/
